
We deal with water before we deal with walls
A basement in eastern Missouri sits in clay. Clay holds water against the foundation for days after a storm, and concrete is porous, so some vapor is always moving through the wall even when you never see a drop. Before any lumber comes down the stairs we look at the things that decide whether a finished basement stays nice: the grade outside, where the downspouts discharge, whether the sump pump cycles and has a check valve, hairline versus structural cracks, and any white mineral bloom on the wall that shows where moisture has been traveling.
Then we build the wall assembly for that reality. Rigid foam goes against the concrete so warm room air never touches a cold wall. Bottom plates are pressure-treated and held off the slab with a sill gasket. Framing stands in front of the foam rather than being glued to the concrete. We do not staple plastic sheeting over fiberglass batts against a foundation wall. That detail was common twenty years ago and it is the single most frequent cause of the musty finished basements we get called to tear out.
What a finished basement has to have to count
For the space to be legal living area, and for an appraiser to count it, a few things are not optional. Ceiling height has to clear the code minimum once ductwork and beams are boxed. Any room used for sleeping needs an egress opening a person can climb out of. Smoke and carbon monoxide alarms get tied into the rest of the house. Bathrooms need ventilation that goes outdoors, not into the joist space. Circuits are sized for how the rooms will really be used, which is different for a treadmill and a theater than it is for a playroom.
We lay out the mechanical side first. The furnace, water heater, electrical panel and main shutoff all need working clearance and access panels that a service tech can actually use. Planning a storage and utility zone around them on day one is what keeps you from cutting open a finished wall in year three.
Layout decisions that are hard to change later
The expensive mistakes in a basement are layout mistakes. Put the bathroom next to the existing rough-in and the ejector or drain work stays modest; put it on the far wall and you are trenching concrete. Put the bedroom on the wall where a window well can go. Put the loud room away from the stairs so sound does not funnel up to the main floor. We sketch two or three arrangements with you, mark them out on the slab in tape, and let you walk them before anything is framed.
How the work runs
- Walkthrough and moisture checkWe measure, photograph, check the slab and walls with a moisture meter, and find every valve, cleanout and junction box that needs to stay reachable.
- Plan and fixed-scope proposalYou get a dimensioned floor plan, an electrical and lighting layout, a finish schedule and a written scope with allowances spelled out.
- Permit and rough constructionWe pull the permit, frame, run electrical, plumbing and HVAC supply and return, then call for rough inspections before anything is covered.
- Insulate, board and finishInsulation, drywall, mud and sand, prime, trim, doors, flooring, paint and fixtures, in that order, with dust control at the stair.
- Final inspection and punch listWe close the permit, walk the space with you and blue tape, and fix every item before we call the job done.
What moves the price
We do not publish square-foot prices, because they mislead more than they help. These are the factors that actually change the number on a proposal.
- Square footage matters less than what is in it. A bathroom, a wet bar or an egress window each move the budget more than another hundred square feet of open rec room.
- Ceiling choice: drywall looks best and costs less in material, a quality drop ceiling costs more but keeps every pipe and wire reachable.
- How much ductwork, plumbing or beam has to be moved or boxed to get usable headroom.
- Flooring type. Luxury vinyl plank over a dimpled underlayment is the workhorse; carpet with the right pad is the budget choice; tile is the premium one.
From our recent projects
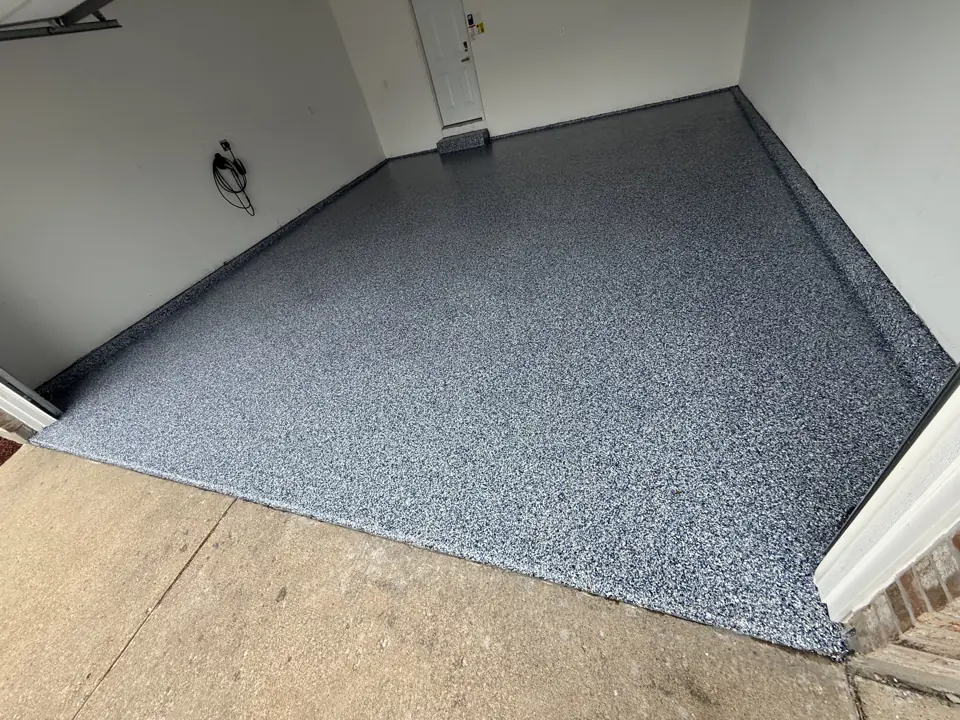
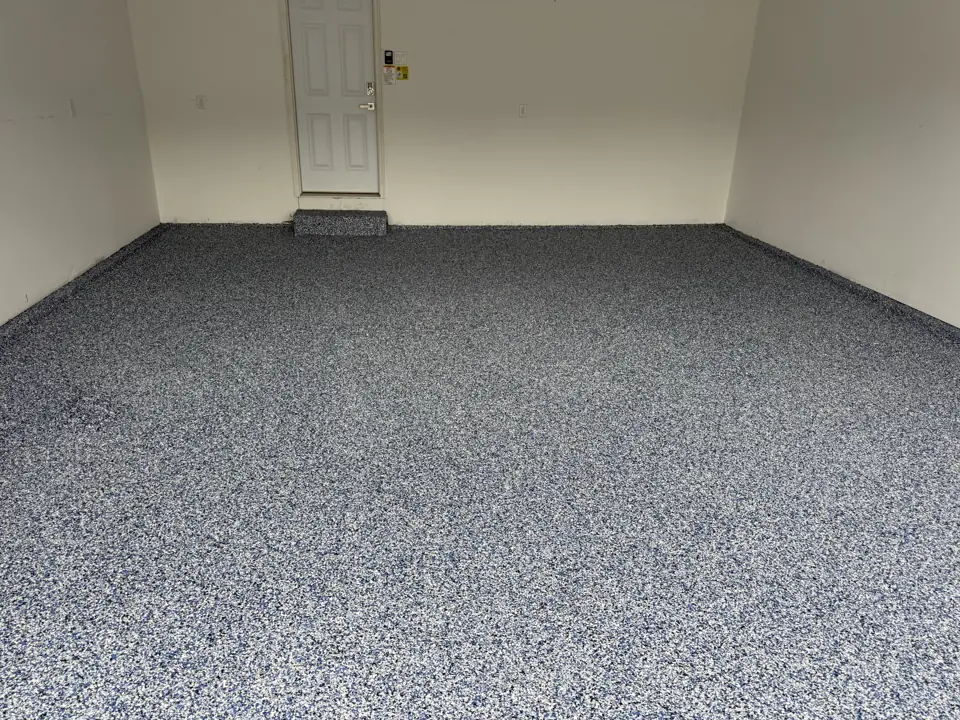
Photographs from jobs we have built. Each one opens to the full project, including the framing and rough-in stages when we have them.
How long it takes
An open-plan finish with no bath typically runs four to six weeks on site. Add a bathroom, a bar or an egress cut and six to ten weeks is more honest. Inspection scheduling and special-order items are what stretch a calendar, so we order long-lead materials before demolition day.
Permits
Finishing a basement needs a building permit in every jurisdiction we work in, usually with separate electrical, plumbing and mechanical sign-offs. We prepare the drawings, apply, and meet the inspector. See our guide to which projects need a permit.
Basement Finishing questions
Do I need a permit to finish my basement?
Yes. Framing, wiring, plumbing and adding conditioned living area all require permits and inspections. Unpermitted basements show up at resale when the square footage on the listing does not match county records, and insurers can push back on claims tied to unpermitted electrical work.
My basement has never leaked. Do I still need to worry about moisture?
You still need a wall assembly that handles vapor. A basement that has never had standing water can still push enough moisture through the concrete to feed mold behind the wrong insulation. Foam against the wall and a gap under the drywall are cheap insurance.
Will a finished basement add value?
Finished lower levels are one of the better-returning remodels in this market because buyers here expect them. The return depends on doing it with permits, a real bathroom and enough ceiling height that it feels like part of the house.
Can you work around the furnace and water heater?
Yes. We frame a mechanical room with code clearances, combustion air if the equipment needs it, and a door wide enough to get a replacement water heater through.